10 Tips on how to photograph with your iPhone
All photos in this blog were taken and edited within our iPhones only.
My friend Courtney from Courtney Paige Photography and I have collaborated on putting together 10 tips on how we use our iPhones for a full portrait session. No lighting, no photoshop, no Lightroom. We broke it down to 5 tips on using an iPhone camera and 5 tips on posing a subject.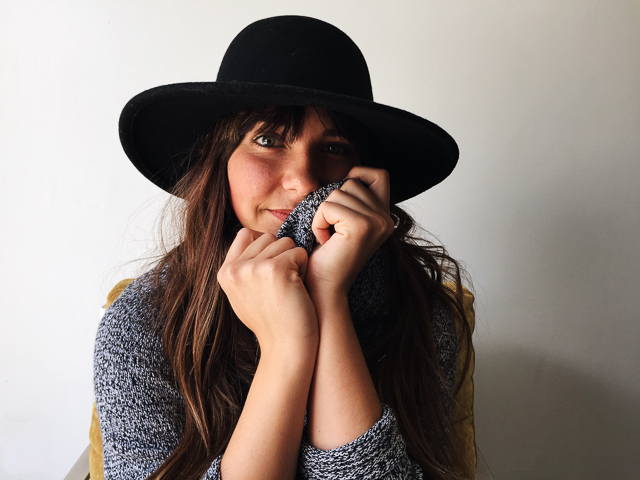
 iPhone 6 Specs: 33.3 mm focal length , aperture of 2.2, ISO up to 2500, 10 frames /second with burst , 8 megapixels, touch Auto Focus or locked Auto Focus.
 Laarne's 5 Tips
1. Stable hands and using burst. When we press on the shutter trigger (circle thing or your volume buttons) to take a photo, the act might cause shakiness which then results to blurry photos. So, when having a session, press down and hold your trigger to shoot burst mode for moving subjects and use a tripod for stationary subjects for sharper images. I simply attached my iPhone car holder to my Tripod to make it more stable which solved blurry photos.
Laarne's 5 Tips
1. Stable hands and using burst. When we press on the shutter trigger (circle thing or your volume buttons) to take a photo, the act might cause shakiness which then results to blurry photos. So, when having a session, press down and hold your trigger to shoot burst mode for moving subjects and use a tripod for stationary subjects for sharper images. I simply attached my iPhone car holder to my Tripod to make it more stable which solved blurry photos.
 2. Avoid zooming or cropping. Zooming and cropping in on a subject might cause noise or enlarged pixels. So try to compose your photos by walking closer toward the subject to zoom and crop without adjusting your iPhone settings. This will result in a higher quality of a photo with lesser noise.
 3. Turn on Grid mode. Settings >> Photos & Camera >> Grid ON .
A little photography lesson here. Grid mode is to simply follow the rule of thirds. It is an easy way to create balance in an off-centered photo. Read more of the rule of thirds here.
3. Turn on Grid mode. Settings >> Photos & Camera >> Grid ON .
A little photography lesson here. Grid mode is to simply follow the rule of thirds. It is an easy way to create balance in an off-centered photo. Read more of the rule of thirds here.
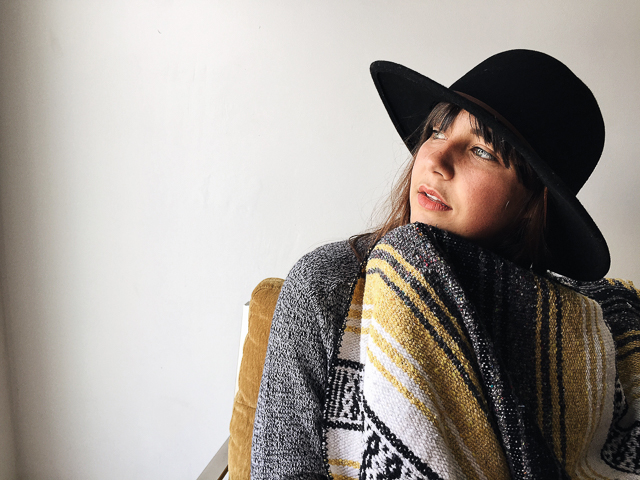
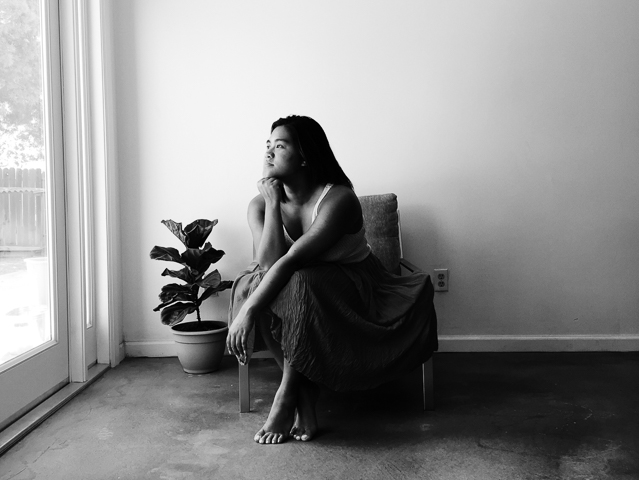
 4. Find your ideal light. This all depends on the photo you would like to take. In this session we used a lot of window light and shadows with direct sunlight. I do prefer having a session during day time, because of the limited quality with low light an iPhone has. At night, iPhone photos tend to be grainy and have less information. Flash isn’t too great either. So, the sweet spot is between not too bright that you’d need sunglasses and not to dark that you’d need artificial light either. To brighten or darken your photo in iPhone camera, tap on the area where you would like to focus, move the sun icon up or down to adjust brightness.
 5. Download iPhone editing apps to elevate the quality and edit to match your style. Here is my list of apps I use with editing on my iPhone. Make sure export your photos in its largest size possible for better quality.
VSCO (free) - Remember, you can decrease the filter effect on your photos.
Snapseed (free)- For sharpening and selective editing
Retouch ($1.99) - Remove distractions or pesky pimples.
5. Download iPhone editing apps to elevate the quality and edit to match your style. Here is my list of apps I use with editing on my iPhone. Make sure export your photos in its largest size possible for better quality.
VSCO (free) - Remember, you can decrease the filter effect on your photos.
Snapseed (free)- For sharpening and selective editing
Retouch ($1.99) - Remove distractions or pesky pimples.
 Courtney's 5 Tips
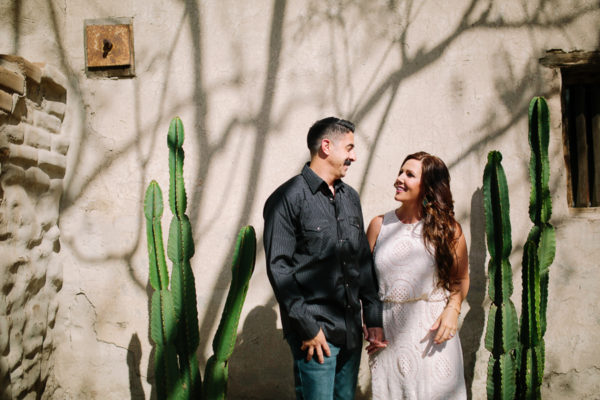
 1. Make sure your subject is comfortable
We can't stress this one enough. If your subject is the least bit uncomfortable it will absolutely show. Open communication with your subject is huge in putting them at ease. Encouraging them and letting them know your getting what you want will make them feel so much more confident and will create a relaxed environment.
1. Make sure your subject is comfortable
We can't stress this one enough. If your subject is the least bit uncomfortable it will absolutely show. Open communication with your subject is huge in putting them at ease. Encouraging them and letting them know your getting what you want will make them feel so much more confident and will create a relaxed environment.
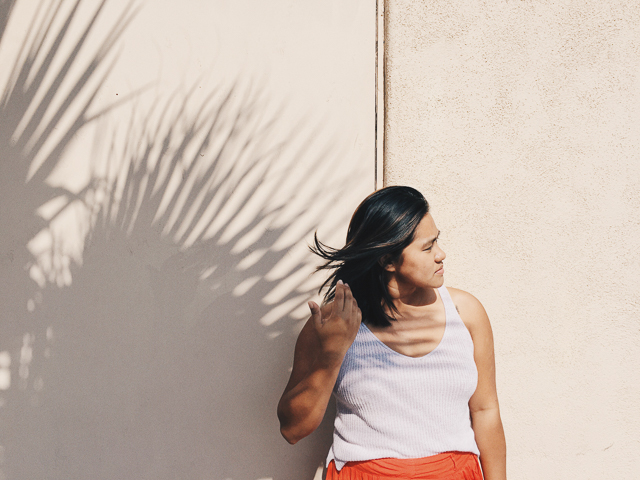
 2. Be flexible with your vision.
You have a goal!! That's amazing!! I get it, I'm a visionary too. But in order to capture who our subject is, we really have to be willing to work with them. In this creative space try to read their posture and hone in on who they are. Keep your vision in mind while being so carful not to loose sight of the unique individuals you're capturing.
2. Be flexible with your vision.
You have a goal!! That's amazing!! I get it, I'm a visionary too. But in order to capture who our subject is, we really have to be willing to work with them. In this creative space try to read their posture and hone in on who they are. Keep your vision in mind while being so carful not to loose sight of the unique individuals you're capturing.
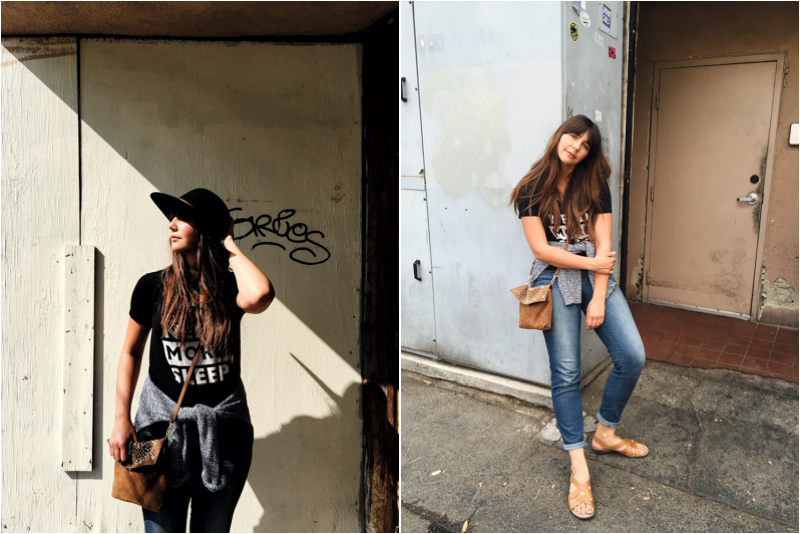
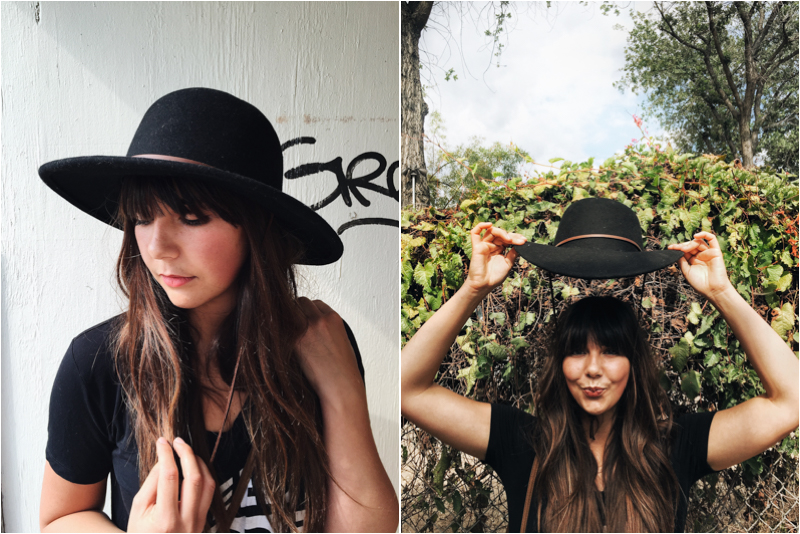
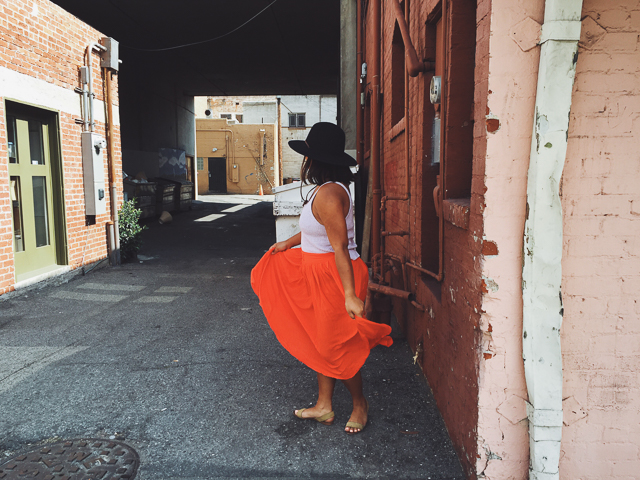
 3. Try giving your subject something to do.
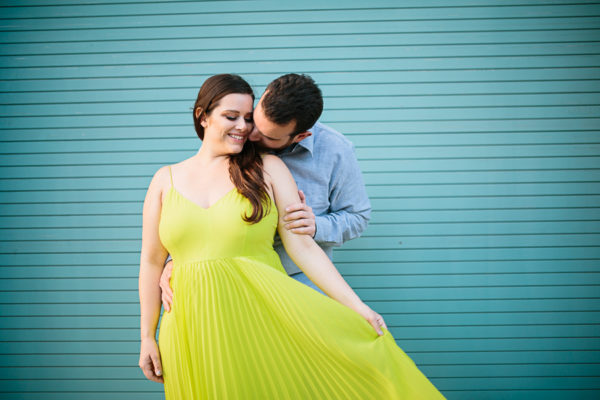
There is a certain level of vulnerability in having your picture taken. For some, it can be completely overwhelming. Maybe this all goes back to making sure your subject is comfortable. Having your subject look toward the light, comb their hands through their hair, or spin in a circle not only will help them take their mind off being photographed... but will also add something really dynamic to your set.
3. Try giving your subject something to do.
There is a certain level of vulnerability in having your picture taken. For some, it can be completely overwhelming. Maybe this all goes back to making sure your subject is comfortable. Having your subject look toward the light, comb their hands through their hair, or spin in a circle not only will help them take their mind off being photographed... but will also add something really dynamic to your set.
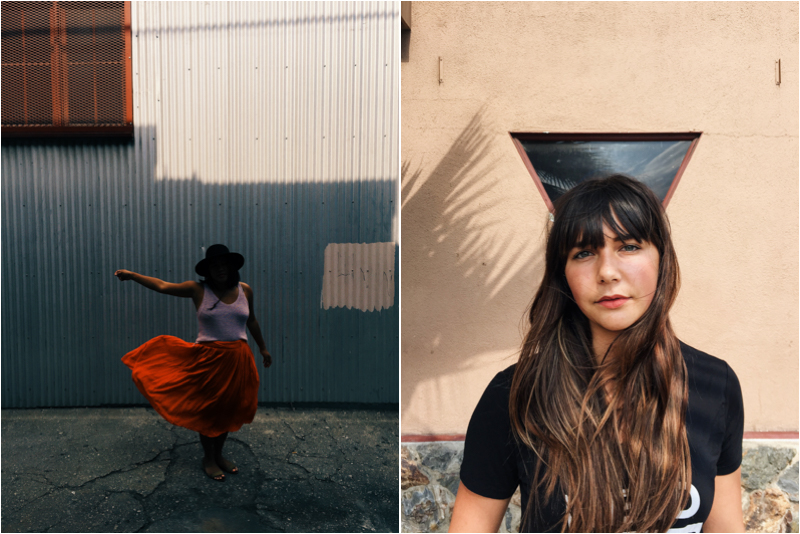
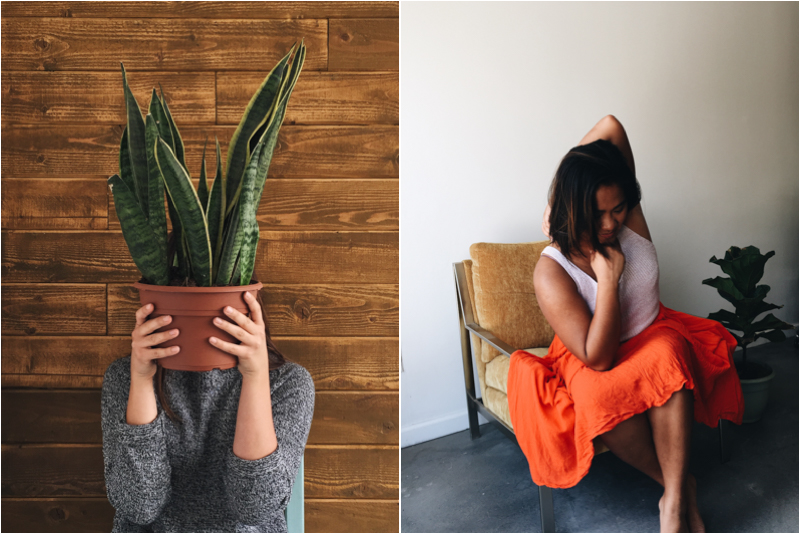
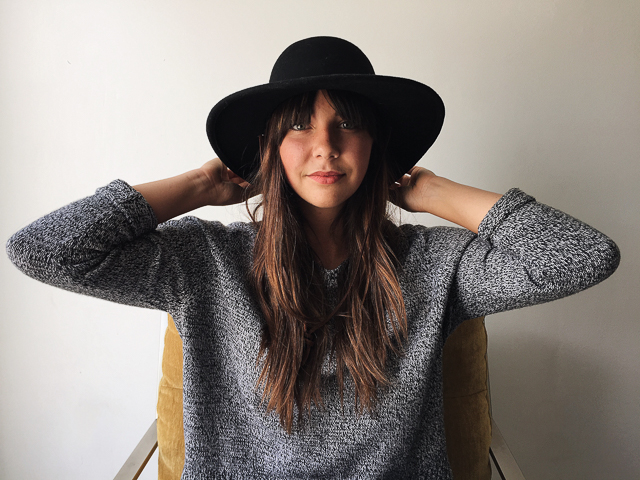
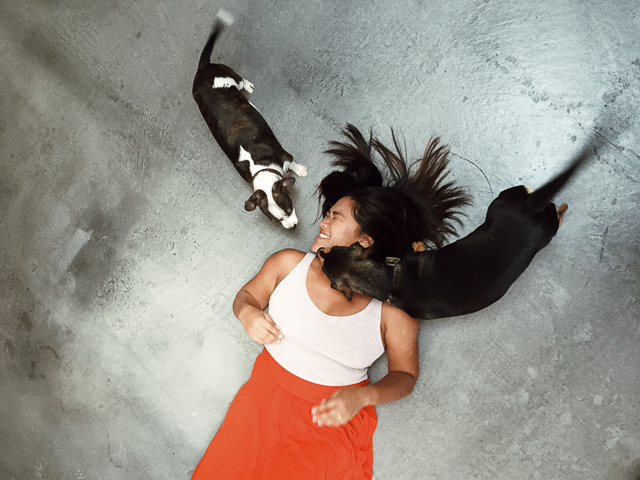
 4. Don't be afraid to play.
Often times my favorites are poses I've never seen or tried before. iPhoneography is a perfect space to play and explore styles in a casual and low pressure environment.
4. Don't be afraid to play.
Often times my favorites are poses I've never seen or tried before. iPhoneography is a perfect space to play and explore styles in a casual and low pressure environment.
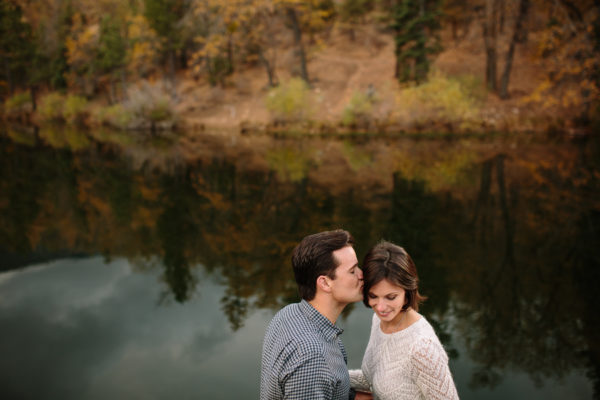
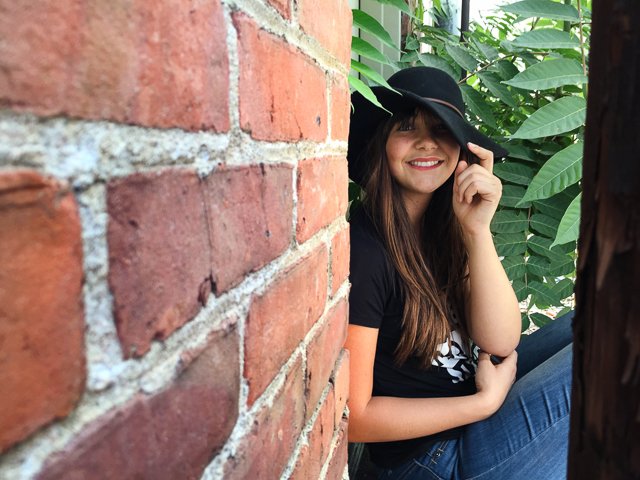
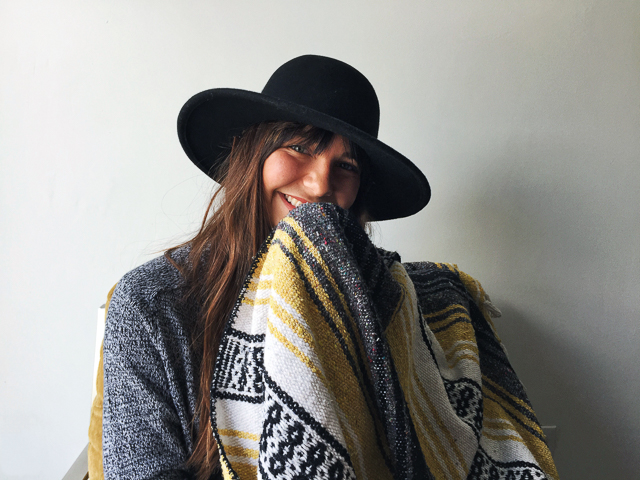
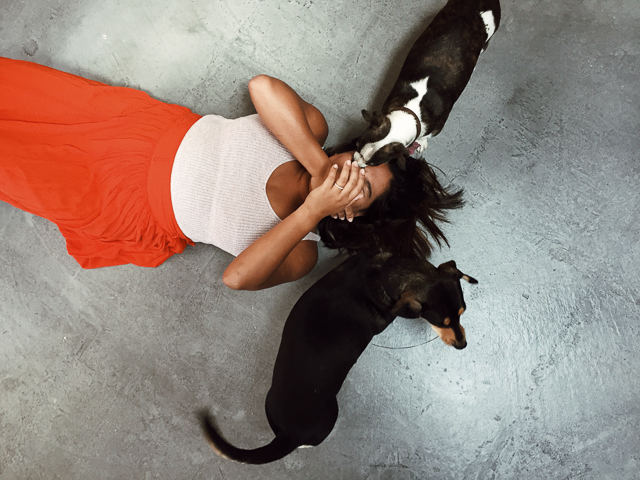
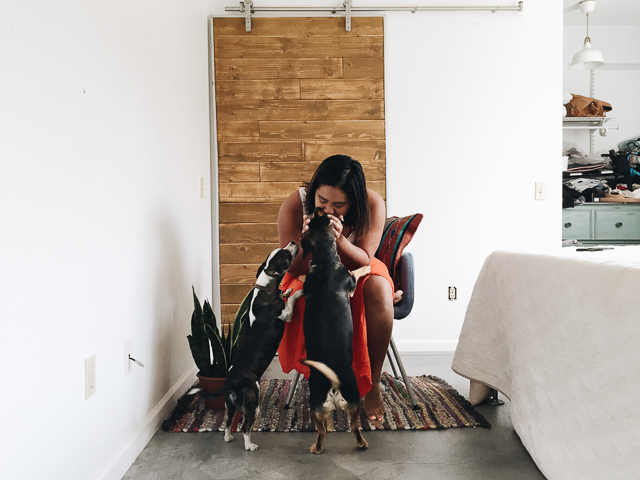
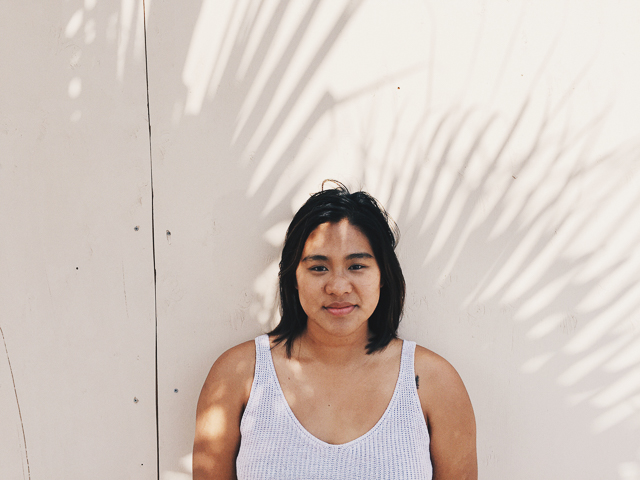
 5. Get the mom shot.
Last but not least: never underestimate a smile. Have fun, be weird, experiment with new dramatic poses but remember that every smile is unique and a beautiful piece of who your subject is.
5. Get the mom shot.
Last but not least: never underestimate a smile. Have fun, be weird, experiment with new dramatic poses but remember that every smile is unique and a beautiful piece of who your subject is.
 Hopefully, these tips encourage us all to go out there and find a new hobby. iphoneography allows us to capture beautiful, great quality images using something that we might have in our pockets . Heck, its a pretty expensive phone, so we might as well use it to its fullest potential =)

 Fin!
Fin!